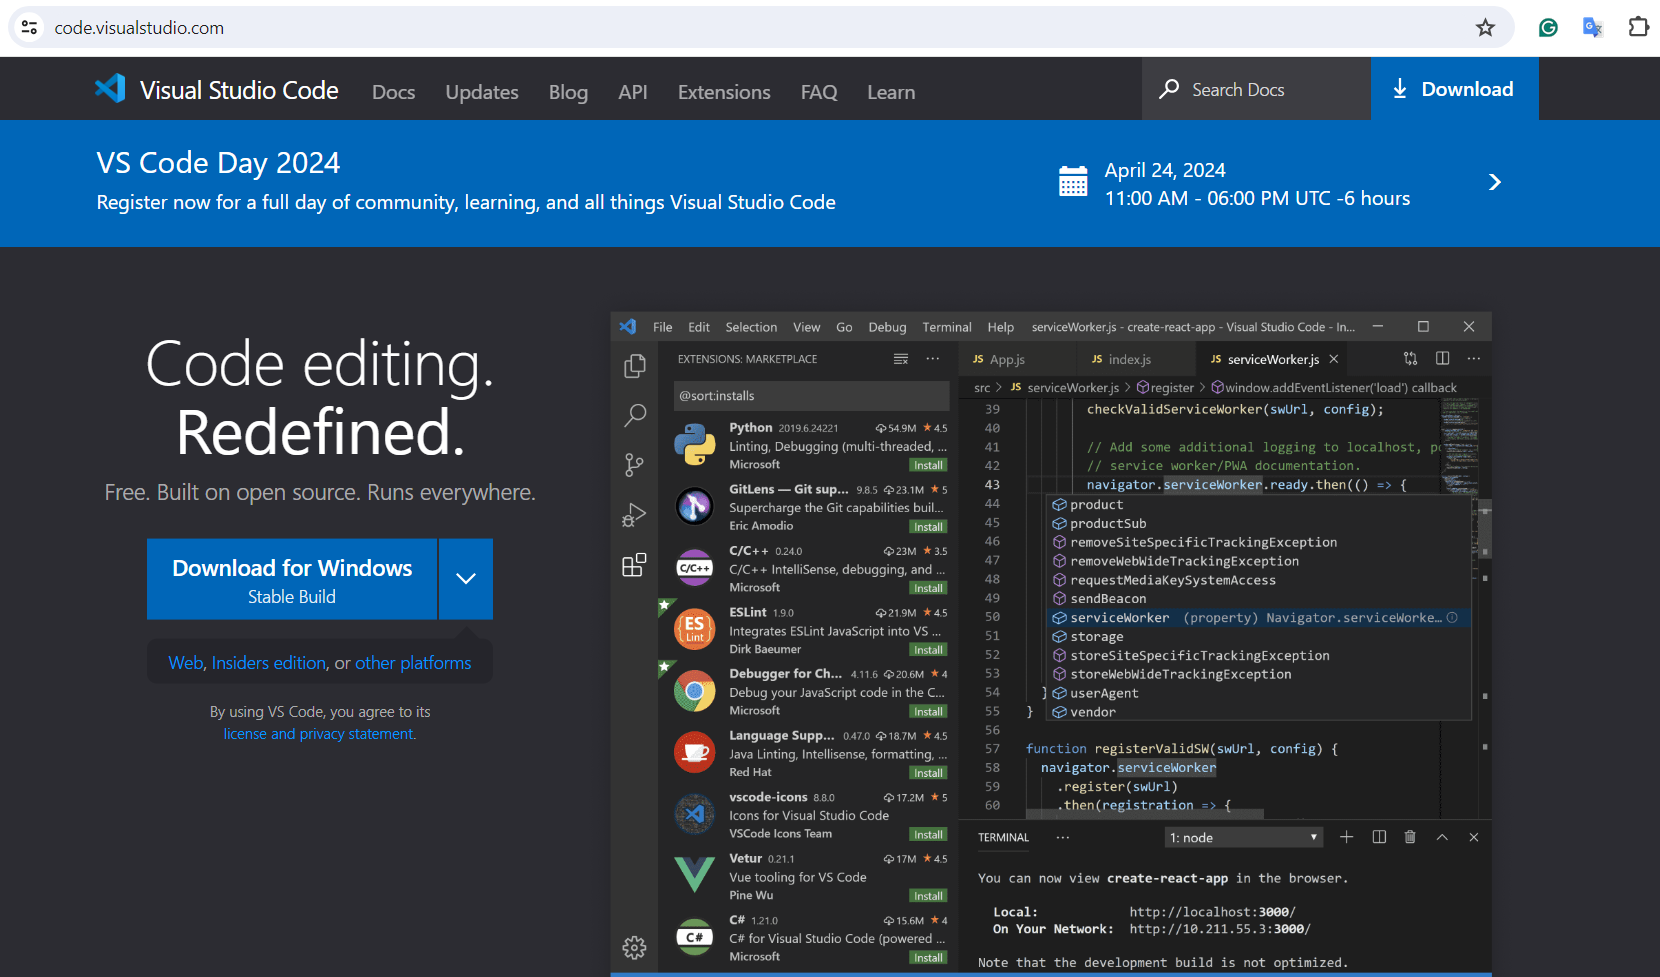
Click the download button for macOS (usually a .zip file).
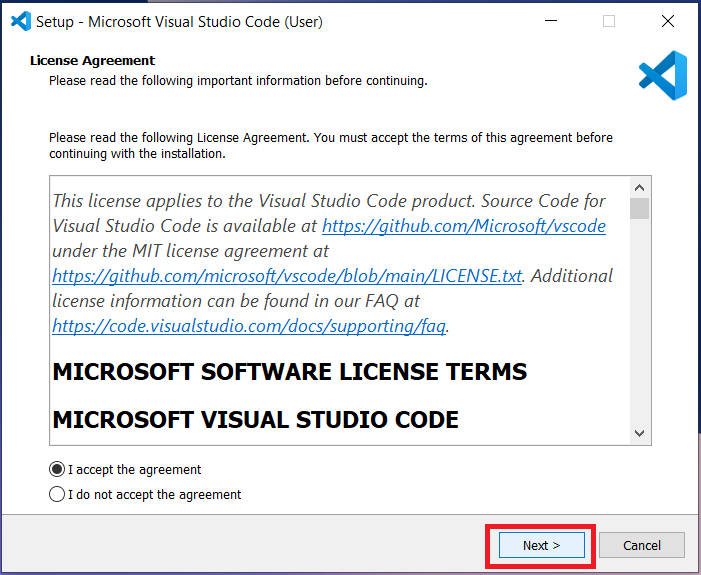
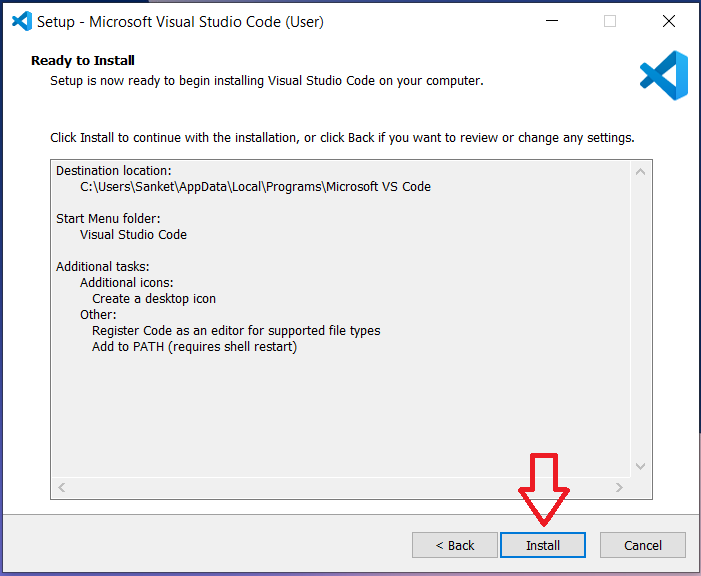
Install Visual Studio Code:
After downloading, locate the .zip file in your Downloads folder and double-click it to expand it.
Drag the Visual Studio Code application to your Applications folder for a standard installation. Alternatively, if you prefer quick desktop access, you can also drag the application to your desktop to create a shortcut.
(Optional) Setting up Live Server
Instructions
Open Visual Studio code
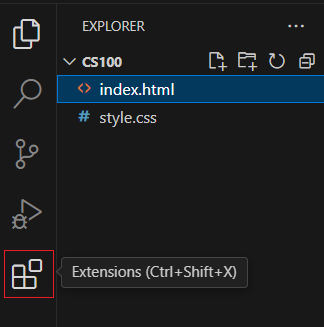
Access Extensions:
Click on the Extensions icon in the Activity Bar on the left side of the screen, which looks like a square on top of another square.
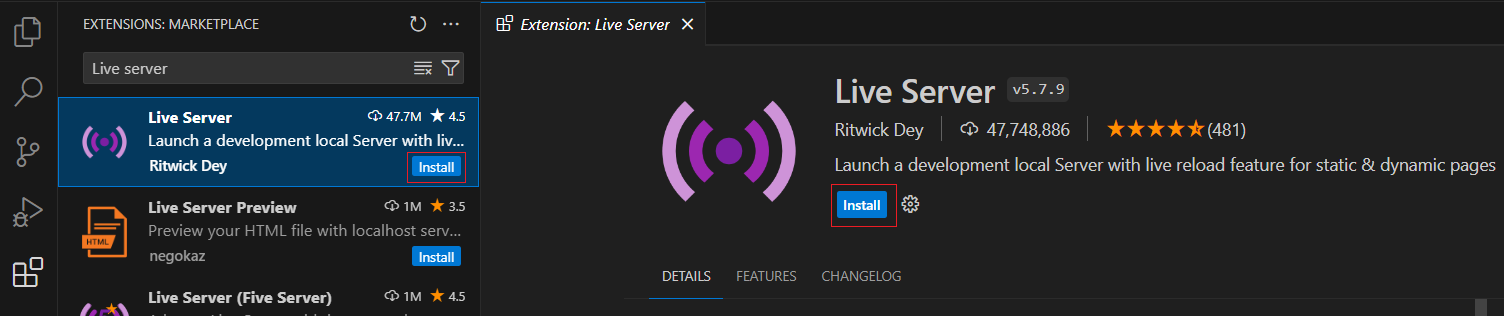
Search and Install Live Server:
In the Extensions search bar, type "Live Server" to find the extension.
Look for Live Server by Ritwick Dey.
Click the green 'Install' button to add the extension to Visual Studio Code. Installation should complete automatically without needing to restart the editor.
Using Live Server:
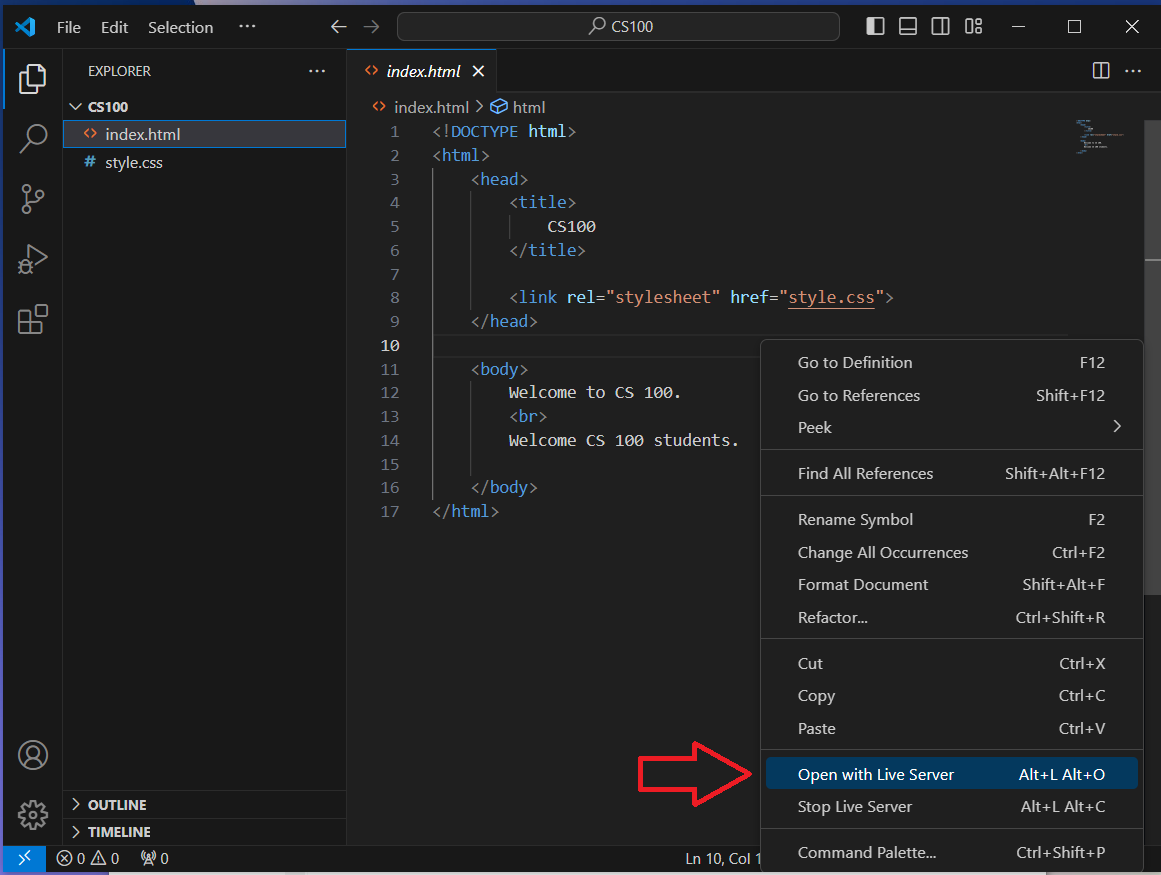
Open your HTML file, or create a new one if you haven't already done so.
Right-click on the HTML file in the editor or the Explorer pane and choose 'Open with Live Server' to start the server and open your file in the default web browser.
Alternatively, you can click on the 'Go Live' button in the status bar at the bottom right of Visual Studio Code to launch the server.
Viewing Changes in Real-Time:
Make changes to your HTML or CSS files in Visual Studio Code. Every time you save the file (using Ctrl+S or Cmd+S ), Live Server will automatically refresh the browser window to display the changes.
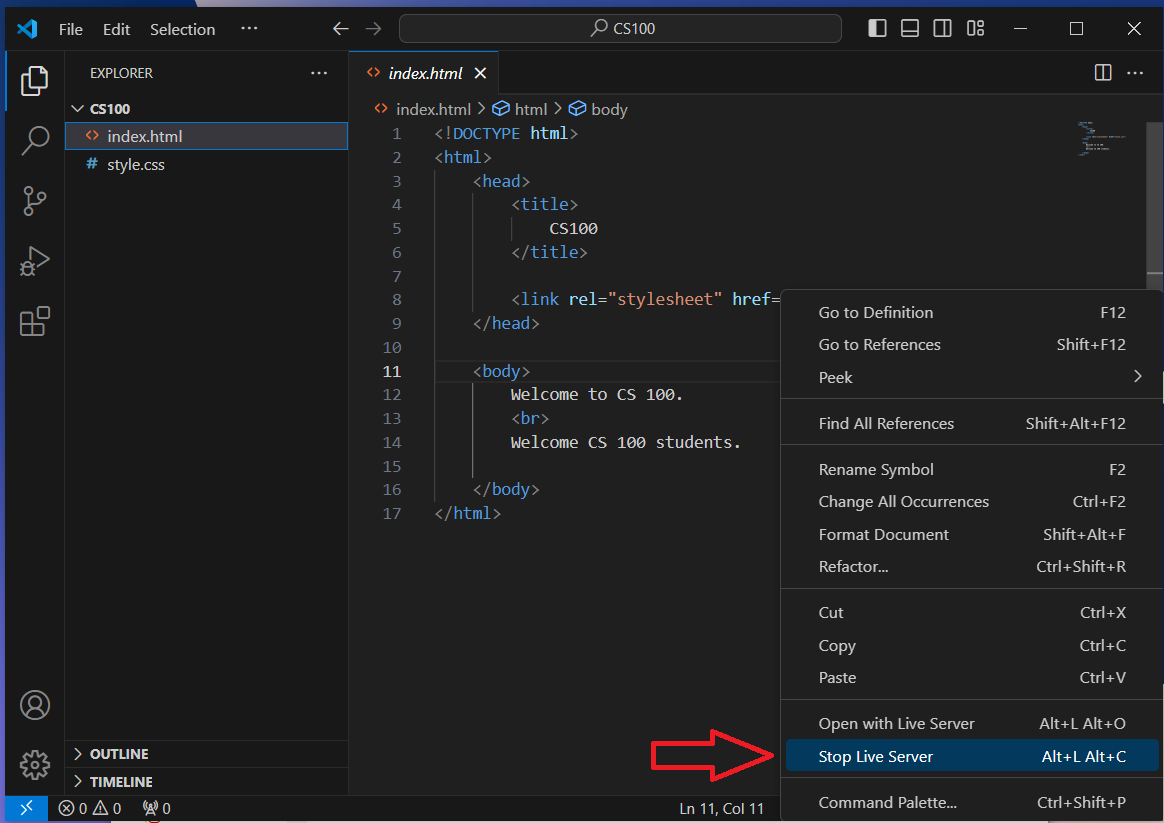
Stopping Live Server:
To stop the server right-click on the HTML file and select 'stop Live Server'.