
How to Download a Zip File from Replit and Upload it Back to URCourses as a Zip File (Using TextEdit on macOS)
-
Forking the Lab Project:
- Follow the instructions on this page to fork the project.
-
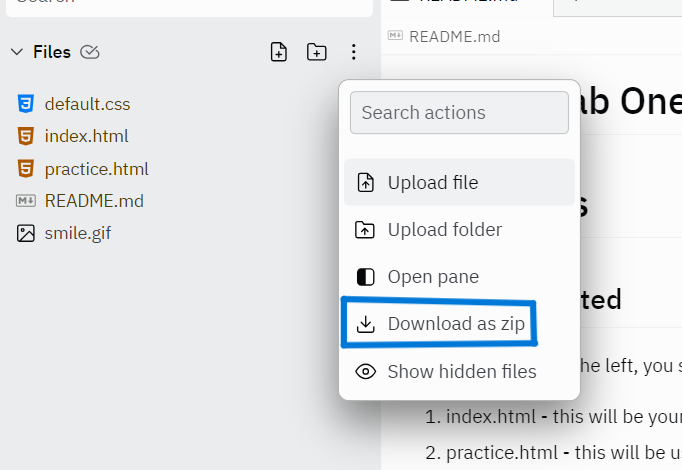
Download the Project as a Zip File:
- On the left-hand side of the Replit page, in the Files section, click on the three dots (…).
- Select Download as Zip.
-
Extract the Zip File:
- Navigate to your Downloads folder.
- Find the Lab 1 zip file and double-click on it to automatically extract the contents.
- The files will appear in a folder in the Downloads directory.
-
Set Up TextEdit to Display HTML Code Properly:
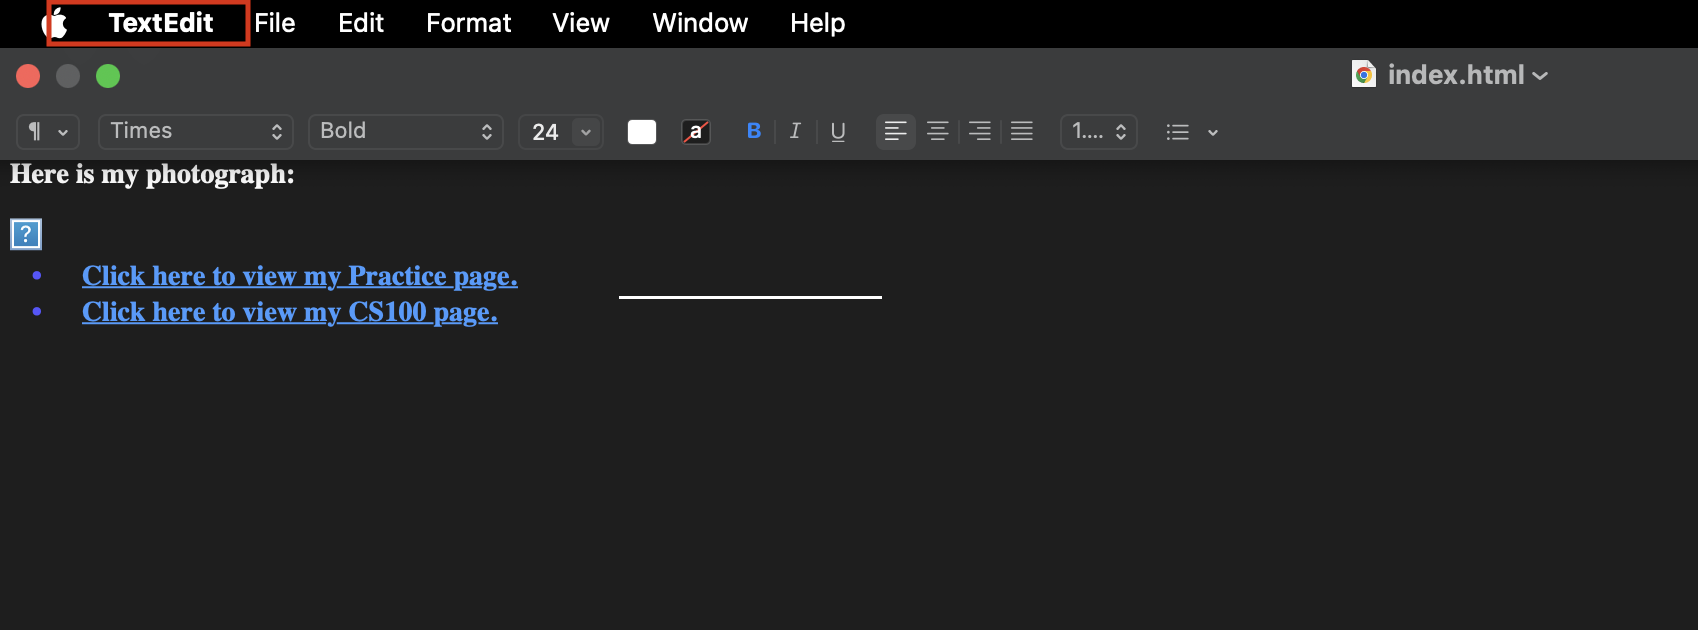
- Open TextEdit.
- In the menu bar, click on TextEdit > Settings (or Preferences).
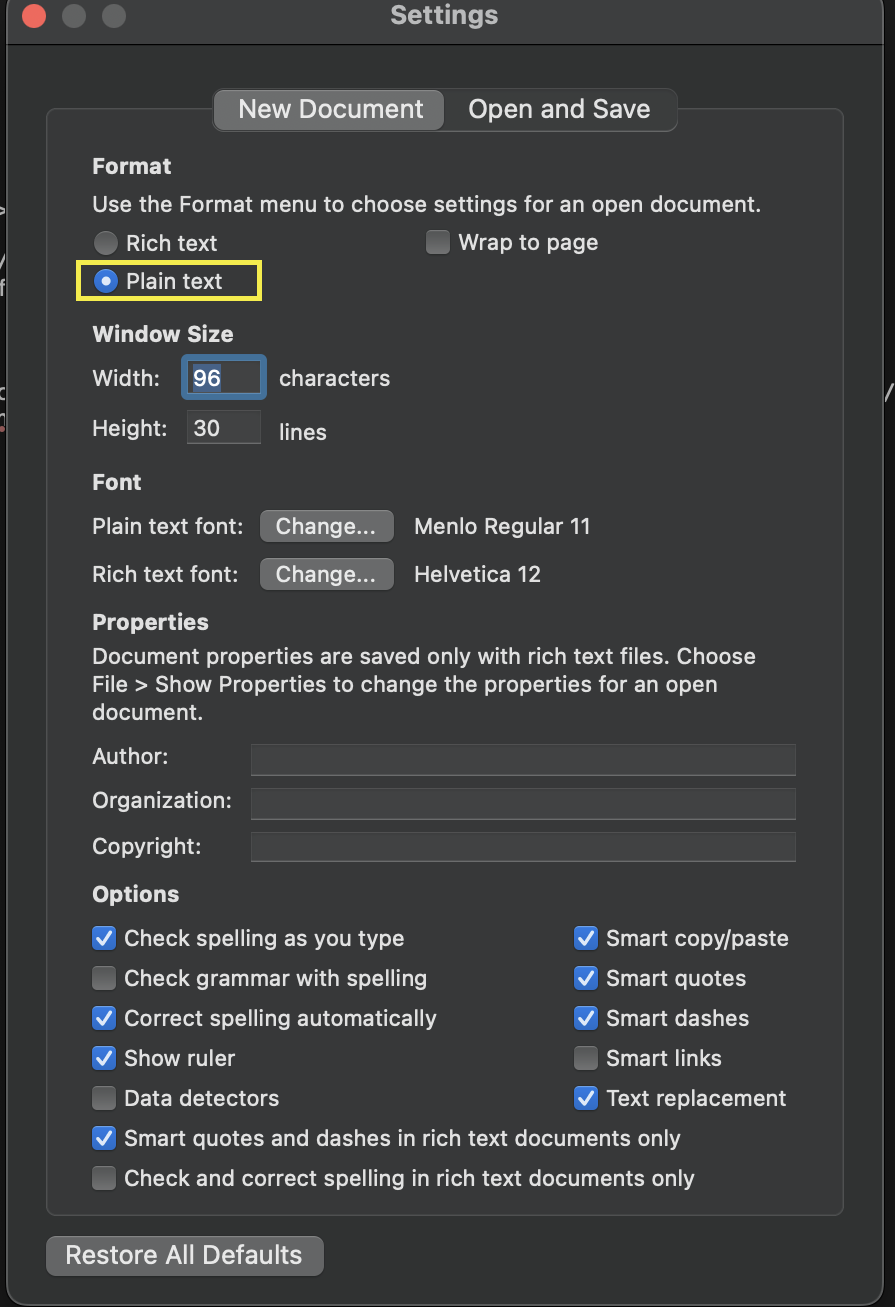
- In the New Document tab, make sure the Plain Text option is selected.
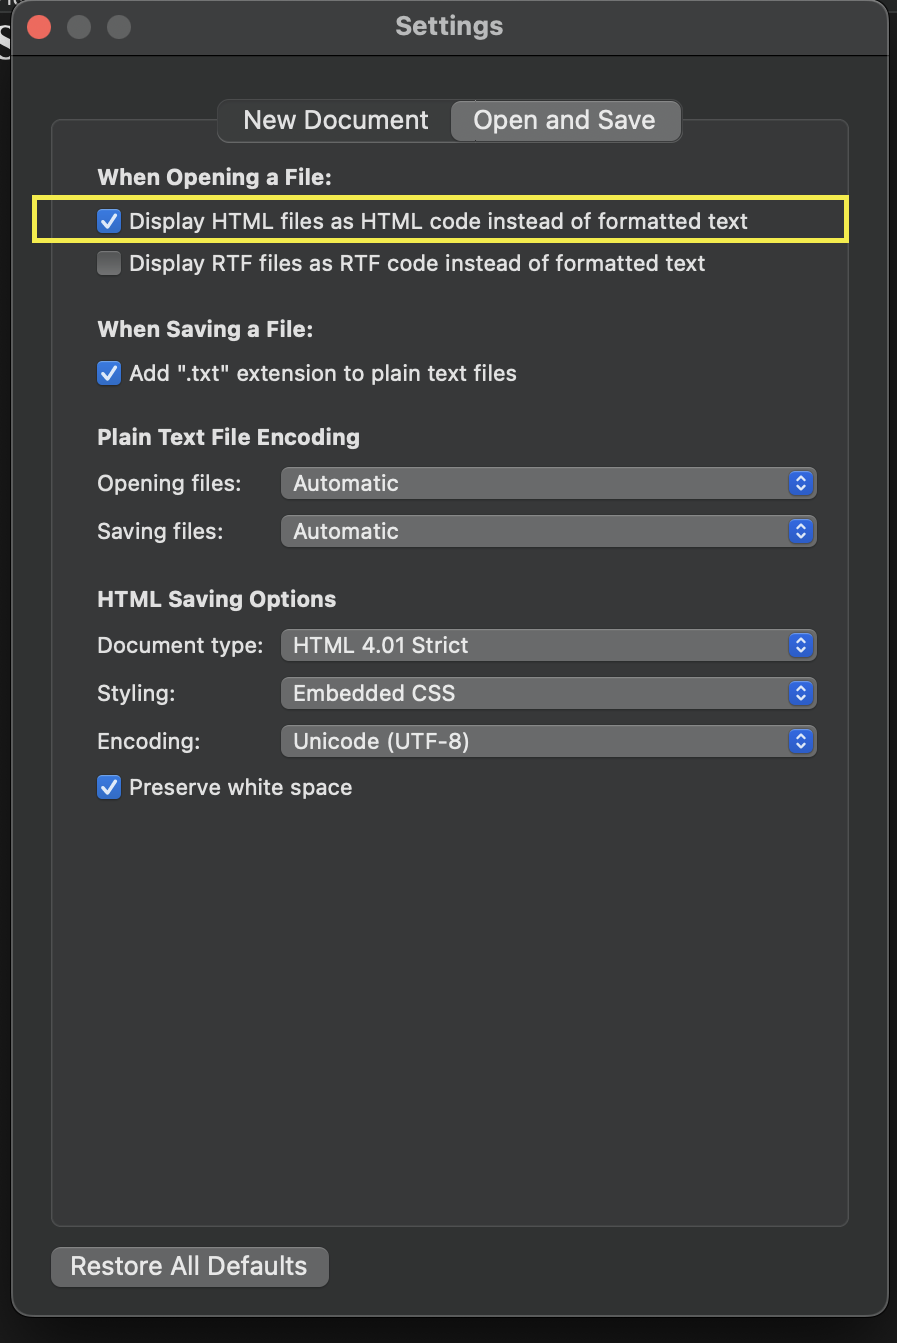
- Go to the Open and Save tab and ensure there is a tick next to Display HTML files as HTML code instead of formatted text.
- Now you can open HTML files in TextEdit, and they will display as code.
-
Edit the Required Files:
- Open the extracted folder.
- For Checkpoint 1, you need to edit the index.html and practice.html files.
- Right-click (or Control-click) the file you want to edit, select Open With, and choose TextEdit.
- Now that TextEdit is configured to display HTML as code, you can edit the files as required.
-
Complete Checkpoint 1:
- Follow the instructions on the lab page to complete Checkpoint 1.
-
Compress and Upload to URCourses:
- Once you're done with your edits, select all the files in the Lab 1 folder.
- Right-click (or Control-click) on the selected files and choose Compress from the context menu.
- This will create a new zip file named Archive.zip by default. Rename it to Lab 1 Completed.zip.
- Go to URCourses, navigate to the Lab 1 upload section, and upload your newly created zip file.